
This forest is growing quite quickly!
Tree 6 started with the basic cone again, see tree 1 for basic instructions. This time I covered the cone with silver sparkly paper purchased at Dollar Tree. 3 sheets in different colors comes in a package. You can use most anything, wrapping paper like I did on tree 2, fabric, I've even seen some with feathers!
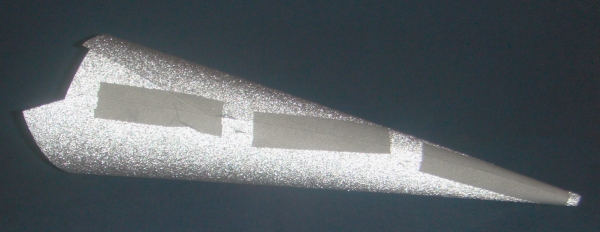
That 8.5" x 11" paper is not quite wide enough without adding a small triangle at the back to fill in. I have discovered that if you place your cone straight on the center of the paper (lengthwise) then roll it to the side you can more easily get it to cover the cone the best. Run a bead of Elmer's glue along one edge, roll your cone to the edge and tape the beginning to help hold it in place. Then roll it until all you have left is the triangle. Trim the paper from bottom to top and you will have a piece to cut a triangle out of to slip into place under your big piece of paper. Then glue the outside edge and I taped mine to hold it until it was dry. Test first to make sure your tape will not tear whatever paper you are using.

I used hot glue to add the wired tinsel, same as I did on tree 1. I had some glittered stickers I used on this tree, the snowflakes didn't show very well on the silver so I outlined them with a red marker.

The base is a red glass votive holder like this one. Mom helped by bringing these home from a shopping trip.


No comments:
Post a Comment